
If you live with T1D and use a CGM, pump, or both: this page is practical education, not personal medical advice. If you have severe reactions, broken skin, or signs of infection, involve your diabetes team/GP.
This is the Skincare for CGM and Pump Sites guide.
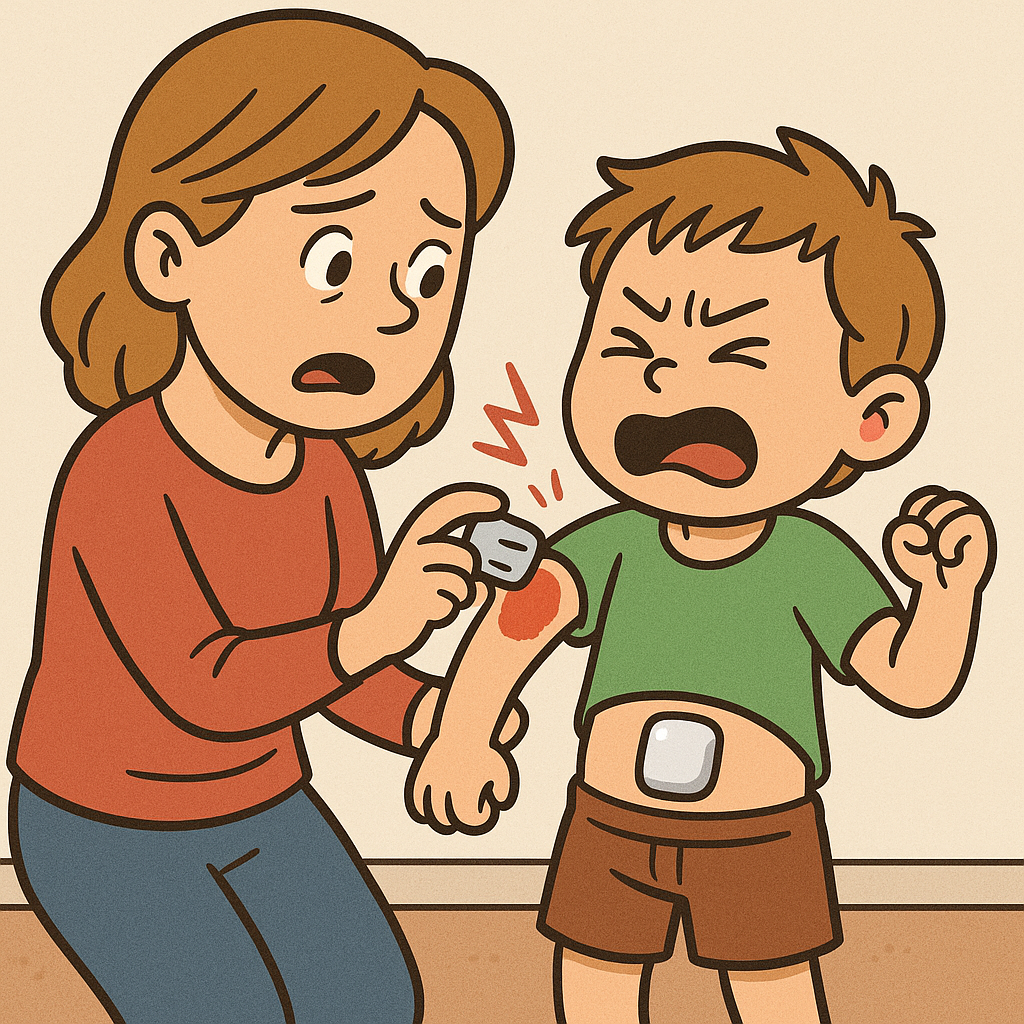
Your skin is not a passive surface — it’s a biological interface under repeated load (adhesives, pressure, sweat, friction, repeated insertions). When skin fails, devices fail: comfort drops, wear time shortens, and infection risk rises.
Easy wins
- Reduce load first: pick flatter sites, avoid rub zones, rotate properly.
- Prep = clean + fully dry (most “adhesion issues” are moisture and friction issues).
- Use barriers only when needed (too much coverage can create new problems).
- Remove low and slow with oil/remover to avoid skin tears.
- Recover on purpose: moisturise and rest sites; don’t “re-use because it looks fine”.
Become a pro!
Skincare-for-CGM-and-Pump-SitesThe details
Skin problems usually come from a mismatch between load and recovery. Devices increase load (adhesive contact, occlusion, sweat trapping, friction, repeated micro-trauma).
Your job is not perfect skin — it’s load management: choose better sites, rotate intelligently, prep properly, remove gently, and build recovery time into your rotation.
Common problems
- Irritation or rash — often adhesive allergy/irritant dermatitis, sweat trapping, or repeated trauma.
- Dry/itchy skin or eczema — commonly poor barrier recovery between wears.
- Lipohypertrophy/lipoatrophy — tissue response to repeated insulin delivery and repeated use of the same zones.
- Scars, wounds, skin tears — most often removal technique and rushed peel-offs.
- Infection — warm, red, painful, spreading, or discharging areas need early review.
Prevention is better than cure!
1) Site choice: avoid lumps, bumps and bendy areas
Site placement is everything. Too close to joints, waistbands, scars, or high-rub areas and you are manufacturing irritation. Too repetitive with one zone and you get breakdowns (and, for pumps, lipohypertrophy risk rises).
- Prefer flat, fatty zones: upper arms, buttocks, thighs, flanks.
- Avoid areas that bend or rub (waistbands, bony creases).
- Rotate on purpose: use 6–10 zones and give each at least a week off.
- Keep at least 1–2 inches away from old sites or current insulin delivery areas.
2) Soap-Water-Dry: Prep the skin and use a barrier for sensitive skin
Prep does not need to take long. It needs to be consistent.
- Clean with oil-free soap and water (avoid alcohol if you react to it).
- Dry thoroughly — damp skin and steamy bathrooms are adhesion killers.
- If sweat is an issue: a thin layer of solid, unscented antiperspirant, leave ~10 minutes, then wipe off before applying the device.
If you are prone to reactions, consider one variable at a time:
- Barrier wipes (e.g. Cavilon, Skin Tac).
- Barrier films under the device (e.g. IV3000 or Tegaderm) if you are sensitive.
- Fluticasone spray is sometimes used off-label as a clinician-guided strategy: apply to the area and allow to dry completely before application.
3) Minimise extra tape (use wisely, not automatically)
If possible, avoid extra tapes to limit total skin coverage. But sometimes adhesives do not hold well — and sometimes they hold too well.
- Over-patches can help (e.g. RockaDex, GrifGrips, Simpatch).
- If using additional tape, “picture frame” around the edges rather than full coverage when possible.
- Consider elastic wraps (e.g. Coban) or kinesiology tape when needed, especially for sport/sweat.
4) Low and Slow and use adhesive remover or oil
Peeling off a stuck sensor should not be a full-body workout — or a reason your skin bleeds. Most tears come from pulling up and away rather than folding back on itself.
- Use baby oil, olive oil, or adhesive removers (e.g. Lift Plus PIP code: 3188505, Uni-Solve, TacAway).
- Start at a corner, push the skin down with one hand and slowly fold the tape back over itself.
- Do not pull up or away — go low and slow.
- Once removed, cleanse the site and moisturise.
5) Rotate for restoration
Whether your skin feels fine or a bit raw, what you do after matters.
- Use a rich, unscented moisturiser daily — especially on “pause sites”.
- Leave used sites alone for at least a week before reusing them.
- Watch for infection signs: heat, pus, spreading redness, or escalating pain.
When things go wrong
Sometimes, despite good prep, things still go wrong. Act early. Escalate sooner for spreading redness, heat, discharge, or significant pain.
| Skin issue | First steps | Then consider |
|---|---|---|
| Redness or rash | Clean, moisturise, use barrier wipes | Clinician-guided anti-inflammatory strategy (e.g. fluticasone or mild steroid) |
| Eczema | Barrier under device (e.g. IV3000 or Duoderm) | Short course topical steroid (clinician-guided) |
| Persistent itching | Moisturise + barrier film | Topical steroid or antihistamine (clinician-guided) |
| Lipohypertrophy | Rotate sites more effectively | Avoid that zone for weeks; refer if severe |
| Wound or skin tear | Oil-assisted removal next time; rest site; moisturise; protect | GP review if not healing or if infection suspected |
Practical steps
- Pick low-rub sites and rotate across 6–10 zones.
- Soap-Water-Dry: dry fully before application (no steam/damp).
- Add barriers only if you need them (change one variable at a time).
- Low and slow and removal and use an adhesive remover or oil.
- Rotate to recover: moisturise pause sites; rest areas at least a week.
GNL resources
- Podcast: Episode 24 with Dr Laurel Messer
- Download: Dr Laurel Messer’s PDF guide
- Download: GNL T1D Skincare Guide (PDF)
References
[1] Diabetes Care (2023). “A Skin Care Program to Prevent Skin Problems due to Diabetes Devices in Children and Adolescents: A Cluster-Controlled Intervention Study.
[2] PANTHER Program. “Skin Solutions.”
[3] University College London Hospitals (UCLH). Skin care guide.